There’s no second doubt that falls are the leading causes of injury or worse in workplace industries where workers need to work at heights. OSHA has made it clear by providing the guidelines to follow to make sure we minimize the risks of any injury.
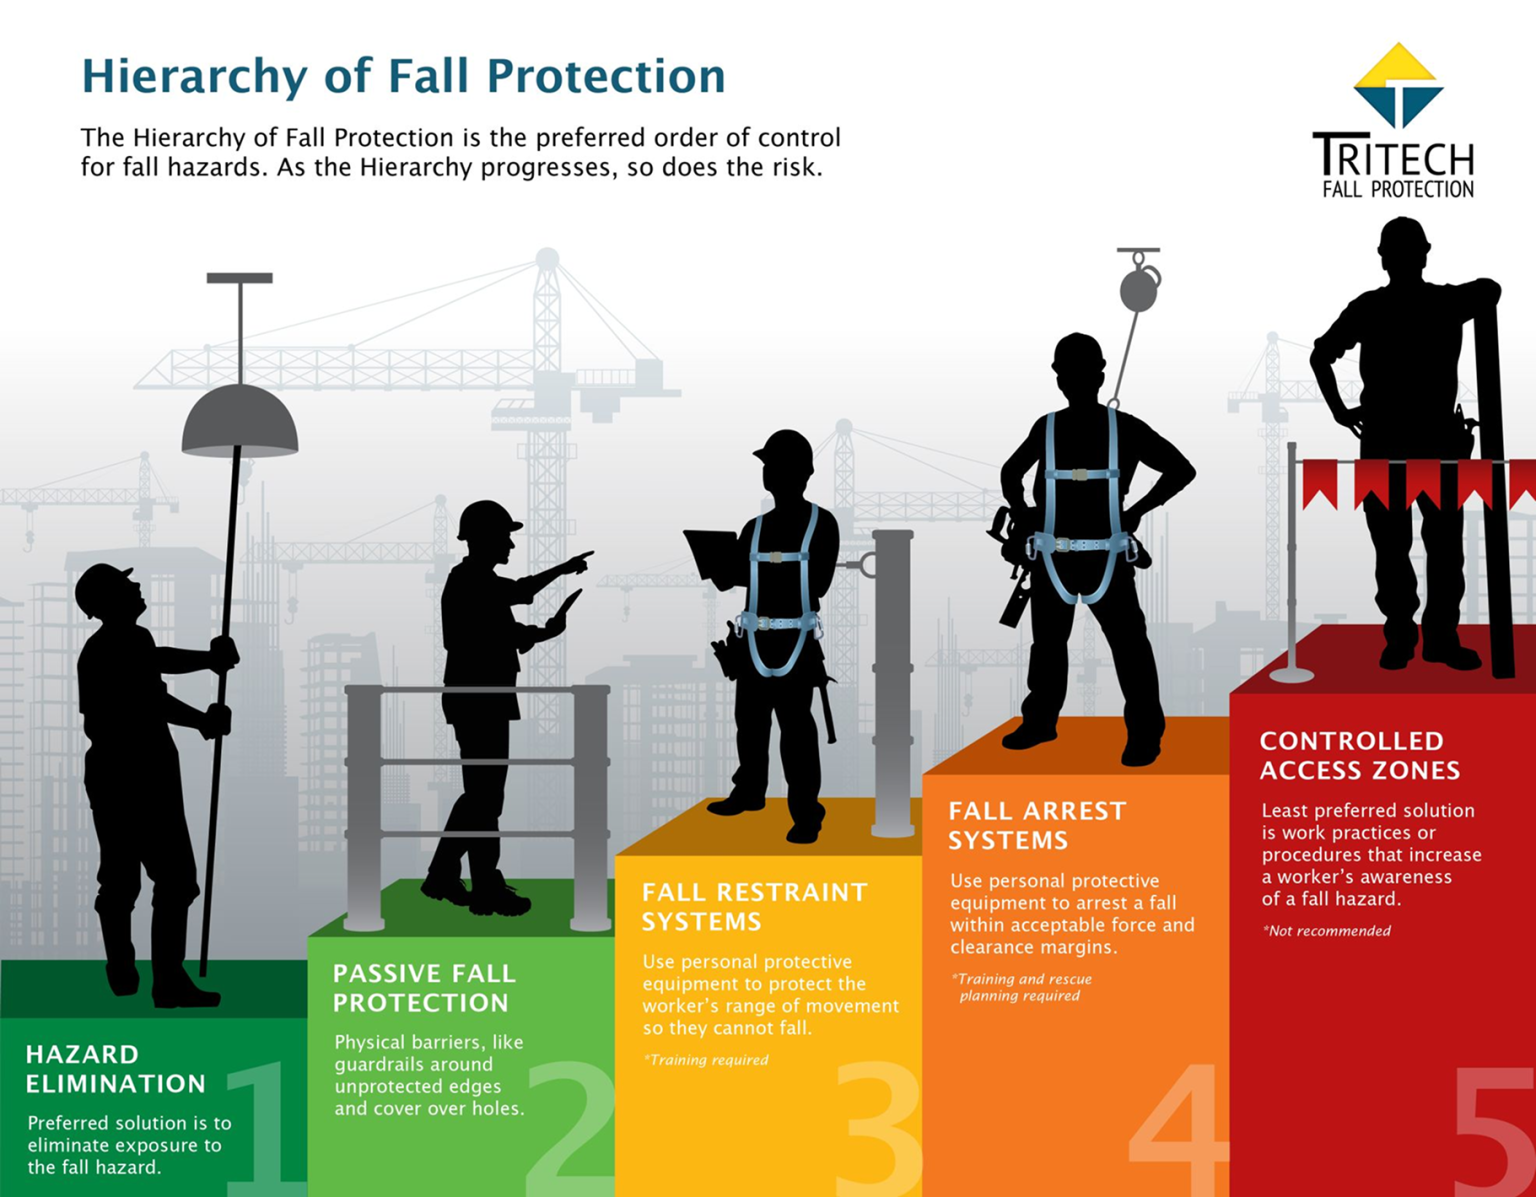
That’s where the Hierarchy of Fall Protection comes in. Think of it like a ladder. Each steps represents a level of protection starting with the most effective and working down from there. The higher you stay on the ladder, the safer everyone is
Let’s climb the ladder of hierarchy of fall protection with some real-world examples.
1. Eliminate the Hazard
The safest fall is the one that can’t happen.
If there’s no risk, there’s no need for harnesses or rescue plans. That’s why eliminating the hazard is always the best option.
Example:
If you’re installing HVAC equipment, don’t send someone up to the roof. Build it on the ground and lift it into place with a crane. No one has to climb. No one is at risk.
2. Passive Fall Protection
Block access to the danger altogether.
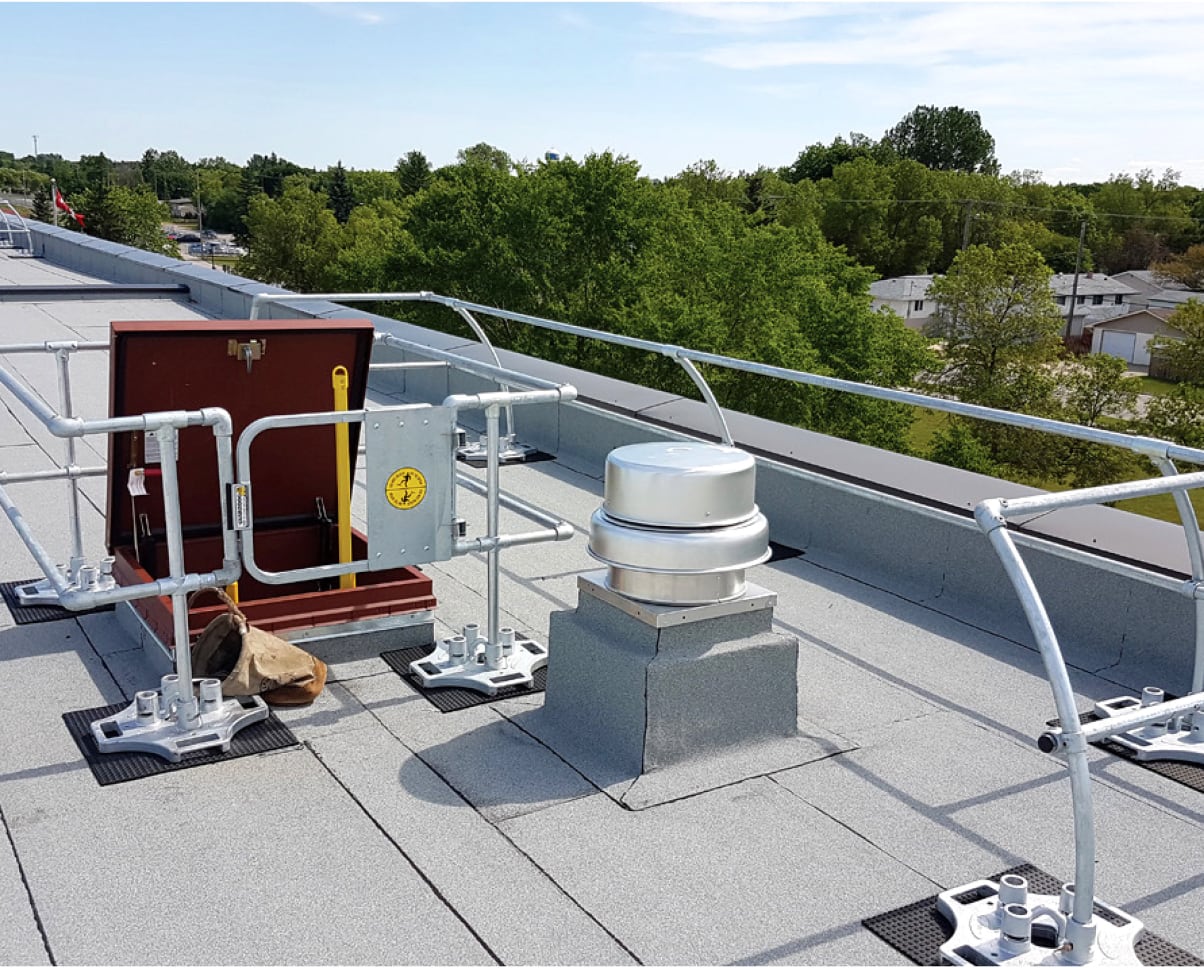
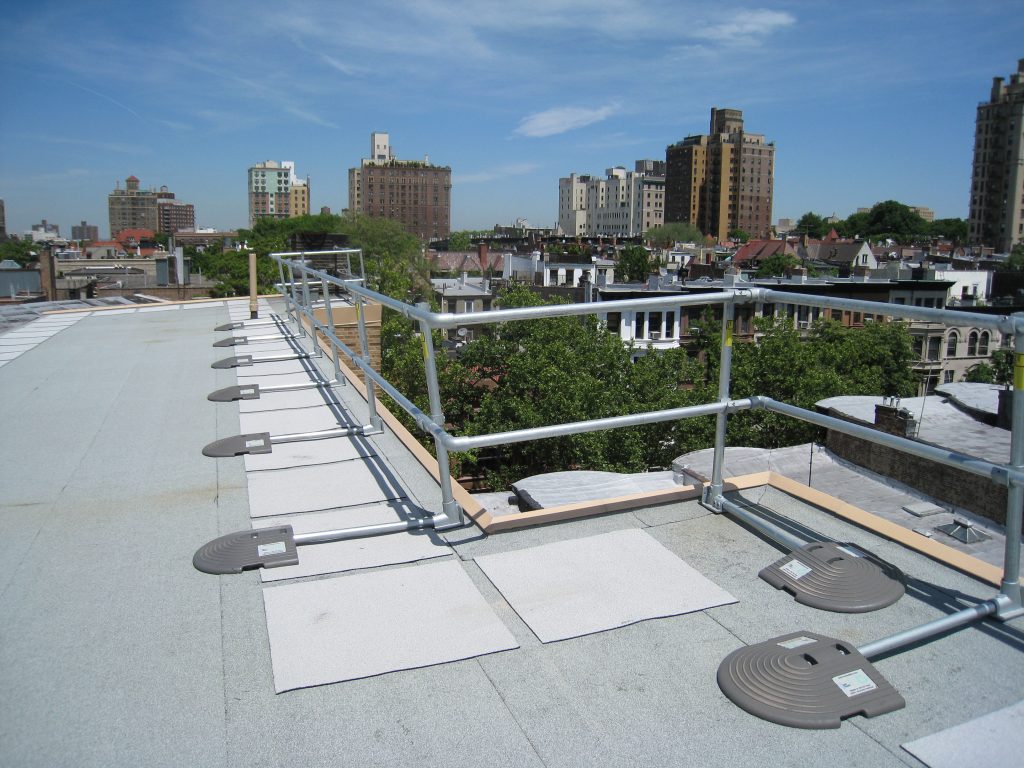
This means using guardrails, covers, or barriers that protect people without them having to do anything. Once installed, they’re always working no reminders or special equipment needed.
Example:
Guardrails around a mezzanine or skylight covers. They’re simple, reliable, and always on duty.
3. Fall Restraint
Let workers move freely but not too close to danger.
This approach still uses gear, but it’s designed to prevent someone from reaching the edge in the first place. It’s proactive, not reactive.
Example:
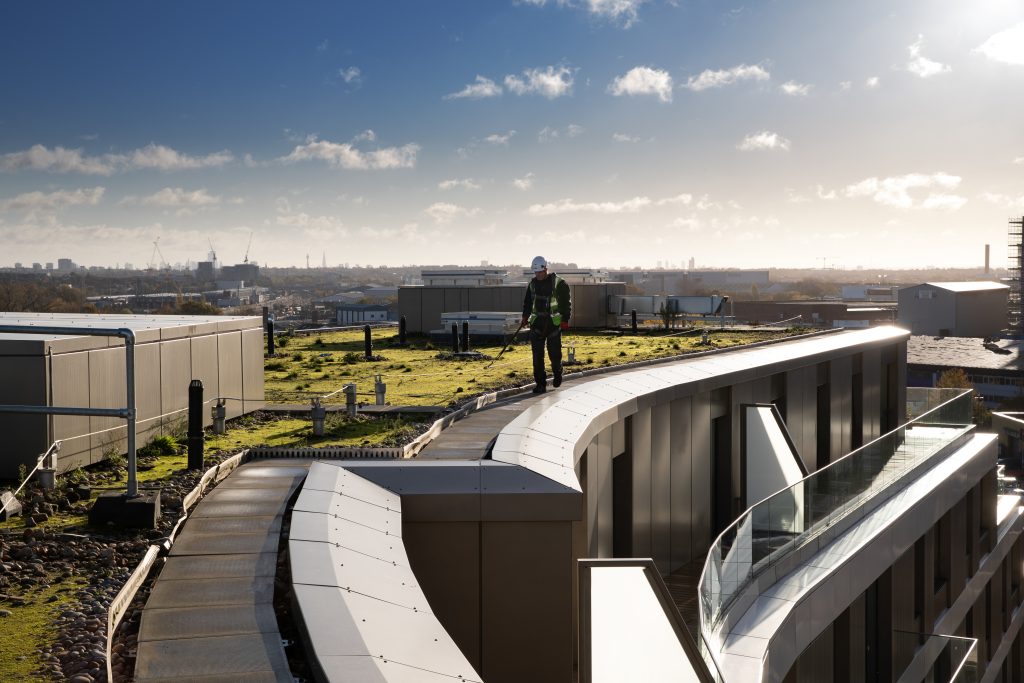
A roofer connects to a fixed anchor using a short lanyard. They can move around the roof, but not close enough to fall off. It’s freedom with built-in protection.
4. Fall Arrest
This is the backup plan what happens if someone does fall.
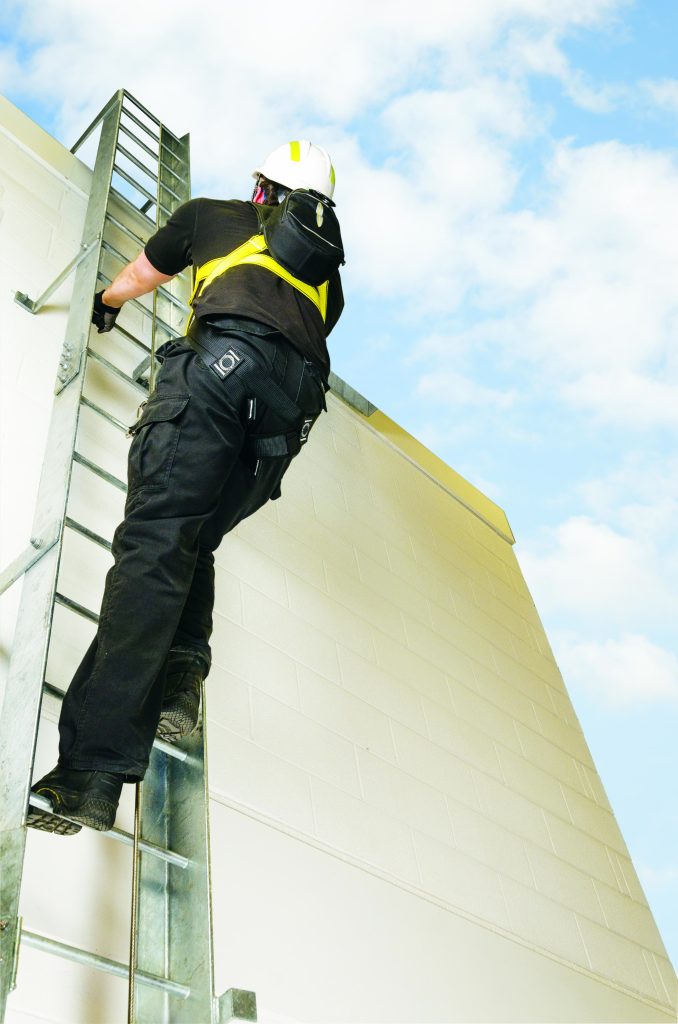
Fall arrest systems are designed to stop a fall in progress. But they come with responsibilities: proper gear, proper setup, and thorough training. This is your last line of defense.
Example:
A worker slips while walking on a steel beam. Their harness and lifeline catch them before they hit the ground. It only works because the gear was inspected, the anchor was secure, and they knew how to use it.
Important:
- Always have a rescue plan in place
- Inspect gear before every use
- Make sure everyone is trained properly
5. Administrative Controls
These are your policies, signs, training sessions, and toolbox talks.
They help raise awareness and build good habits, but they rely on people doing the right thing every single time even when they’re tired, distracted, or in a rush.
Example:
You put up warning lines on a flat roof, hang safety signs, and hold briefings before shifts. These are good practices, but they won’t physically stop someone from falling.
Why the Hierarchy Matters
Too often, companies jump straight to harnesses because it feels like they’re doing something. But handing someone a harness doesn’t mean they’re safe. It just means you’re hoping everything else goes right.
Real safety starts before anyone leaves the ground. It starts with better questions:
- Do we even need someone up there?
- Can we build or install this differently?
- Is there something we can put in place to block access entirely?
Bottom Line
If you’re serious about protecting your people, follow the hierarchy. Start at the top and only move down when there’s truly no other choice.
Don’t just check the safety box. Build a system that actually keeps people safe.
That’s how you keep your team on their feet—and how everyone gets home safe.